> For the complete documentation index, see [llms.txt](https://docs.helpyousponsor.com/guides/llms.txt). Markdown versions of documentation pages are available by appending `.md` to page URLs; this page is available as [Markdown](https://docs.helpyousponsor.com/guides/advanced-features/integrations/zapier/actions/create-a-new-donor.md).
# Create a New Donor
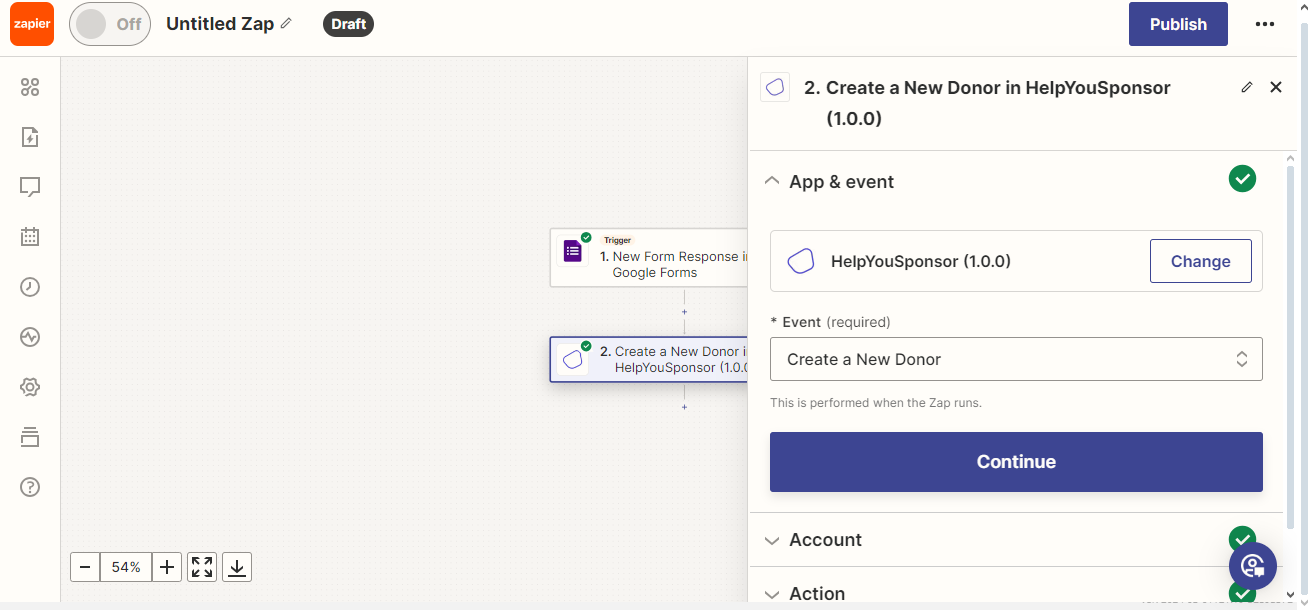
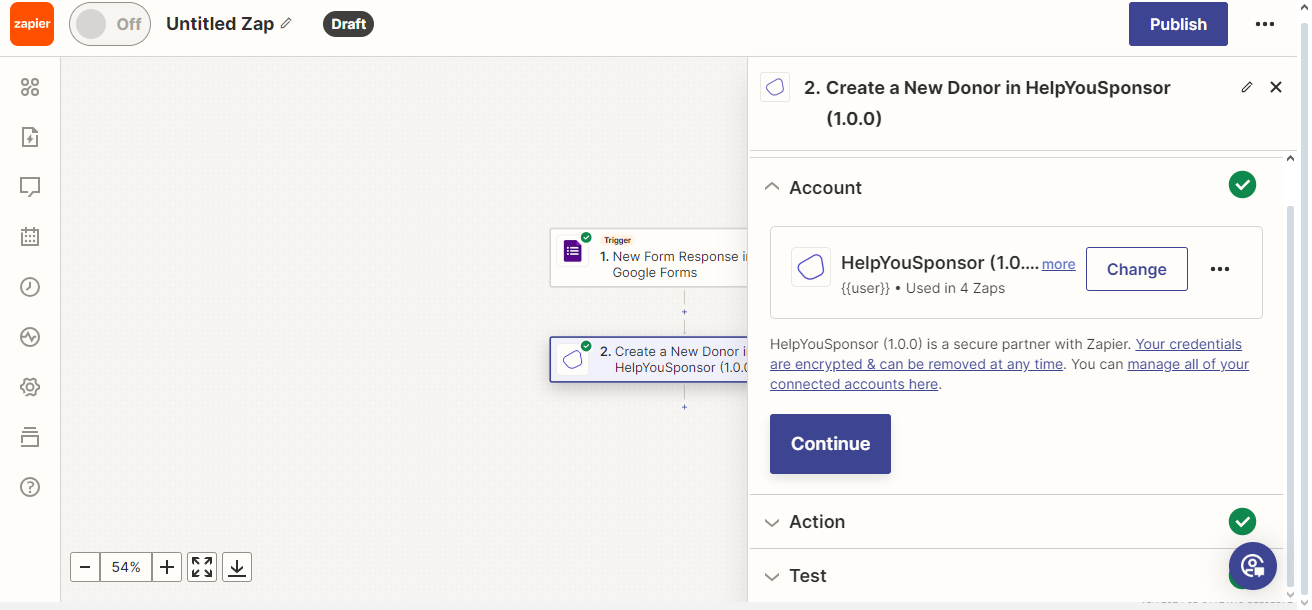
When you choose the action to create a new donor. You'll be presented to create an account in zapier and this account will be created after you have authenticated and accepted Zapier to access your account.
Gratona screen
Gratona screen
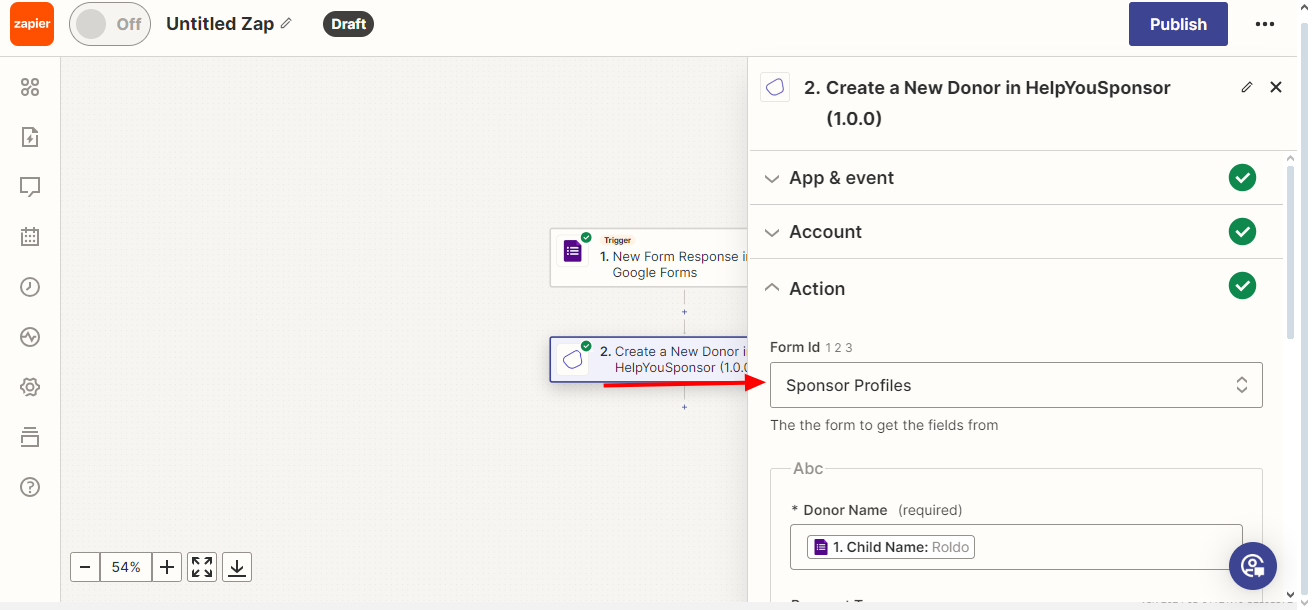
When you move to the next step of `Action` you'll be presented with such a page.
Gratona screen
In the dropdown you chose the form from which you want to generate form fields to create the donor.\
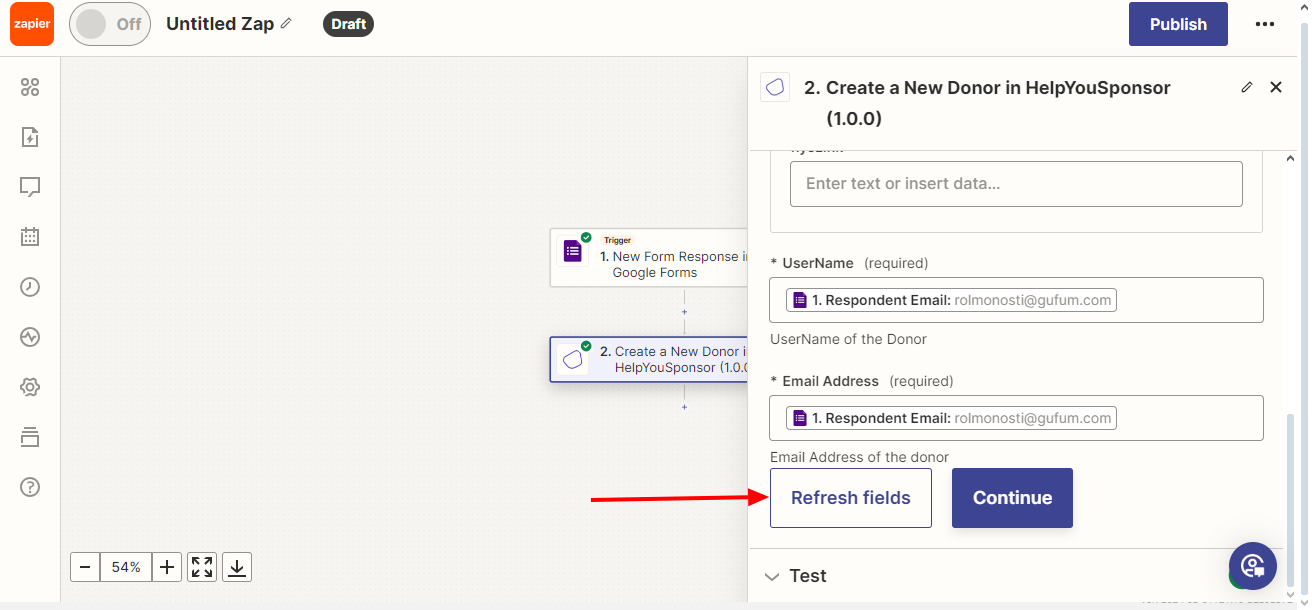
Click `Refresh fields` so that zapier will use the form that you have selected above and then generate the form fields for you
Gratona screen
Some fields like `Email Address` that appear before the `Refresh fields` button are system fields that Gratona requires and are not neccessarily part of your form.\
\
Once the form fields have loaded, you then can insert you data.\
\
Next step click `Continue`
Run a `Test` to make sure all is well, you can even check Gratona to see that new donor data.