> For the complete documentation index, see [llms.txt](https://docs.helpyousponsor.com/guides/llms.txt). Markdown versions of documentation pages are available by appending `.md` to page URLs; this page is available as [Markdown](https://docs.helpyousponsor.com/guides/core-features/communication-tools/print-mailings.md).

# Print Mailings

Print Mailings helps your team prepare printable donor letters, sponsorship packets, mailing labels, and tax summary runs from reusable templates. Use it when you need a saved record of what was generated, a PDF your team can print, or a batch export of letters and labels.

Print Mailings is available from **Communications** in the main menu when it is enabled for your organization and your permission set includes Print Mailings access.

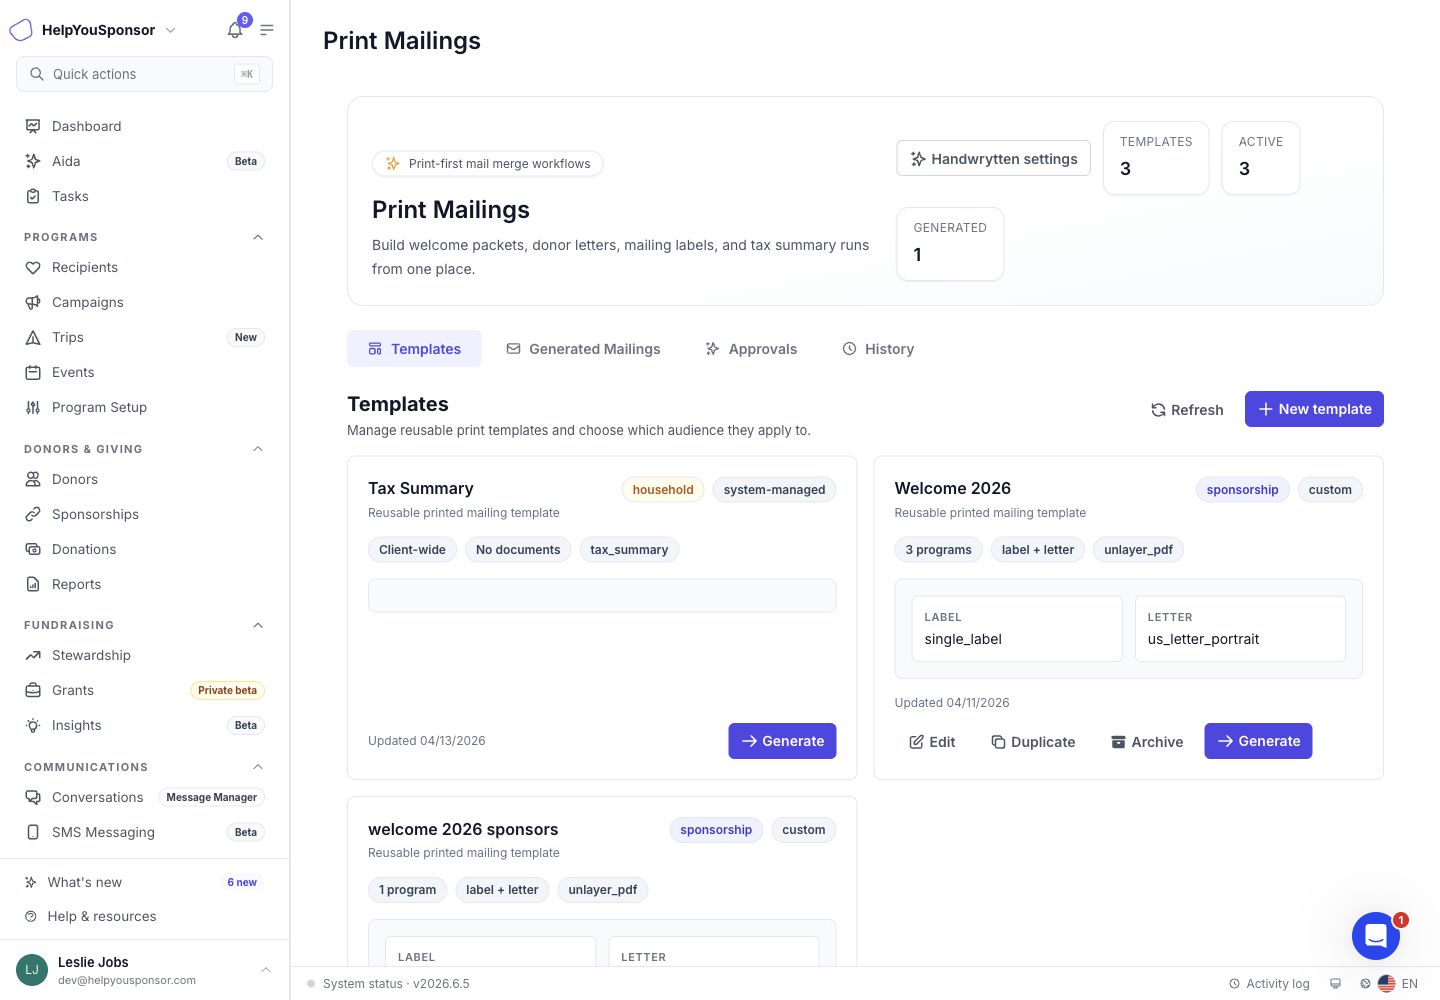
<figure><img src="/files/2yybyzIO059seFVVKB7I" alt=""><figcaption><p>Print Mailings page with Templates, Generated Mailings, Approvals, and History tabs.</p></figcaption></figure>

## What you can do in Print Mailings

Use Print Mailings to:

* Create reusable print templates for donor or sponsorship audiences.
* Add letter and label documents to a template.
* Use donor, recipient, organization, program, mailing, and form-field merge tags.
* Limit a template to specific programs, or leave it available across the account.
* Generate printable PDFs for selected donors, all donors, selected sponsorships, or all sponsorships.
* Preflight a run before generating so you can see which recipients are ready, which have warnings, and which will be skipped.
* Review generated mailing history by recipient, run, template, preset, and delivery status.
* Print or download individual artifacts, export selected artifacts in a ZIP file, or download a full run ZIP when available.
* Mark selected generated mailings as **Sent** or **Not sent** after your team handles printing and mailing.

{% hint style="info" %}
Custom Print Mailings are print-first. Email delivery is only available for Tax Summary runs.
{% endhint %}

## Create a print template

Create a template when you want to reuse the same donor letter, sponsorship packet, or mailing label format for future runs.

1. Open **Print Mailings**.
2. Choose **New template**.
3. Add a clear template name.
4. Choose the audience scope:
   * **Donor** when each generated item should be based on a donor.
   * **Sponsorship** when each generated item should be based on a donor-recipient sponsorship.
5. Choose the preset that best matches the job:
   * **Welcome Packet**
   * **Donor Letter**
   * **Mailing Labels**
6. Leave **Program bindings** empty when the template should be available across the account, or choose one or more programs when the template should only be used for those programs.
7. Build the letter, label, or both documents.
8. Save the template.

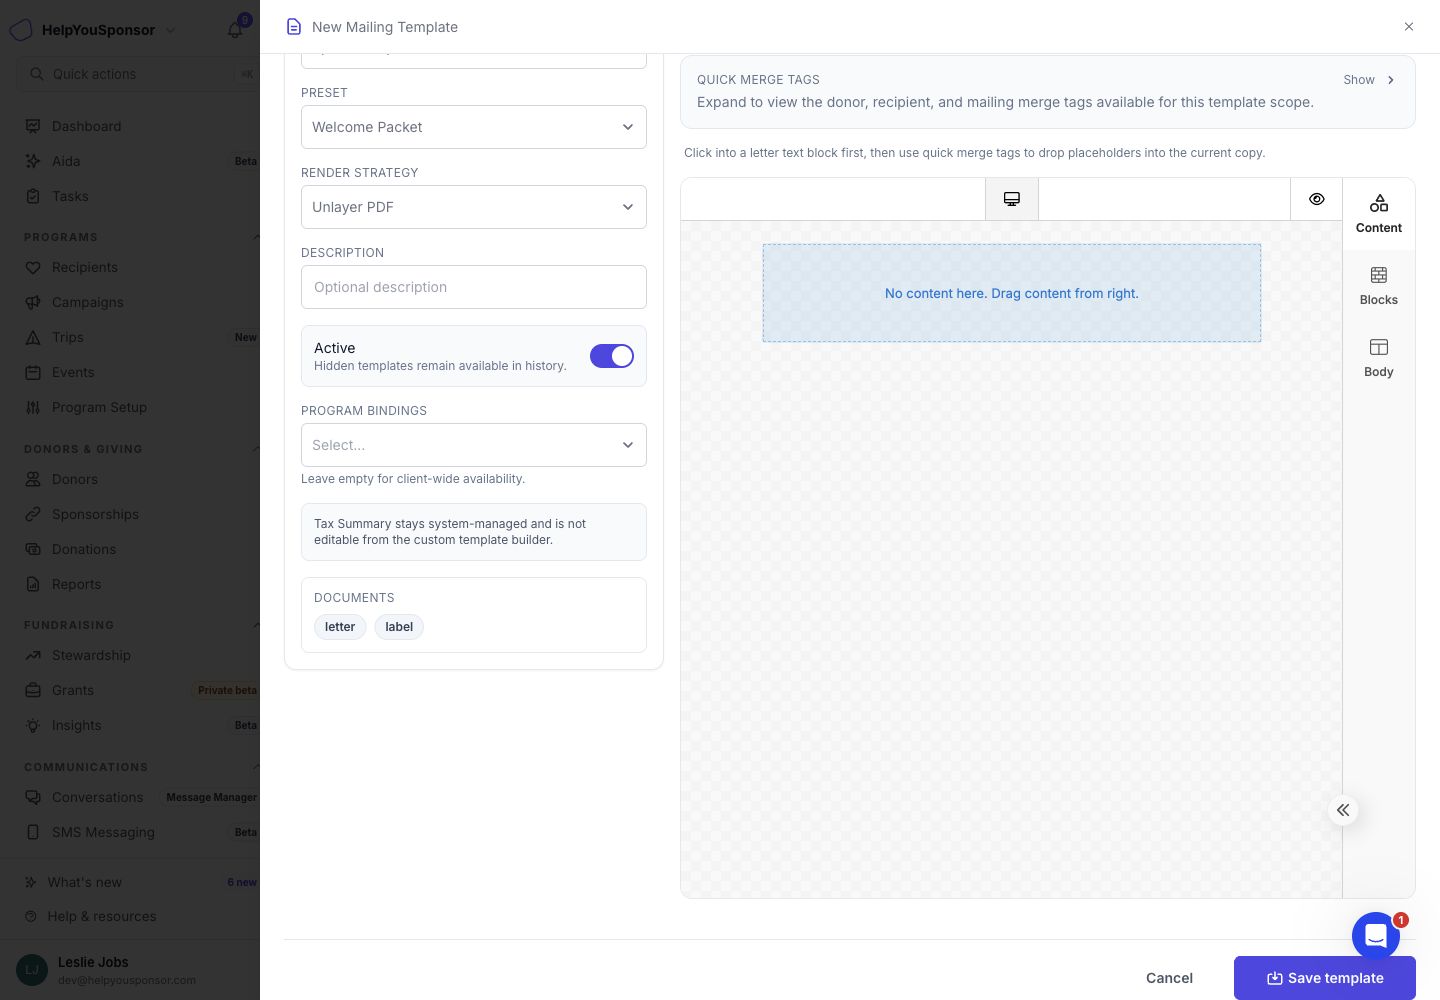
<figure><img src="/files/RU1fP74RT7mCVvSpIc9S" alt=""><figcaption><p>New Mailing Template drawer with scope, preset, program bindings, document tabs, and merge tags.</p></figcaption></figure>

### Choose the right template parts

The preset controls which document tabs are available:

* **Welcome Packet** and **Donor Letter** can include a letter and a label.
* **Mailing Labels** includes the label composer only.
* **Tax Summary** is system-managed and cannot be created or edited from the custom template builder.

If a template should no longer be used, archive it from the Templates tab. Archived templates stop appearing as active templates, but existing generated mailings stay available in history.

## Add merge tags to a template

Use merge tags when the printed PDF should include donor, recipient, program, or mailing-specific information.

1. Open the template.
2. Expand **Quick merge tags**.
3. Choose the donor or recipient form group when more than one form is available.
4. Insert tags into the letter editor or label line where the value should appear.
5. Save the template.

<figure><img src="/files/2K5jqsr9E8v70D7TGVj0" alt=""><figcaption><p>Quick merge tags panel showing donor, recipient, and other available tags.</p></figcaption></figure>

For labels, the label composer lets you build each line without editing HTML. You can add or remove lines, insert merge tags, adjust font size, line spacing, padding, alignment, and emphasize the first line.

## Generate a mailing run

Generate a run when your template is ready and you want HelpYouSponsor to create the PDFs.

1. Open **Print Mailings**.
2. In **Templates**, choose **Generate** on the template you want to use.
3. Choose the source type for the run.
4. Select the donors or sponsorships, or choose an all-record option when available.
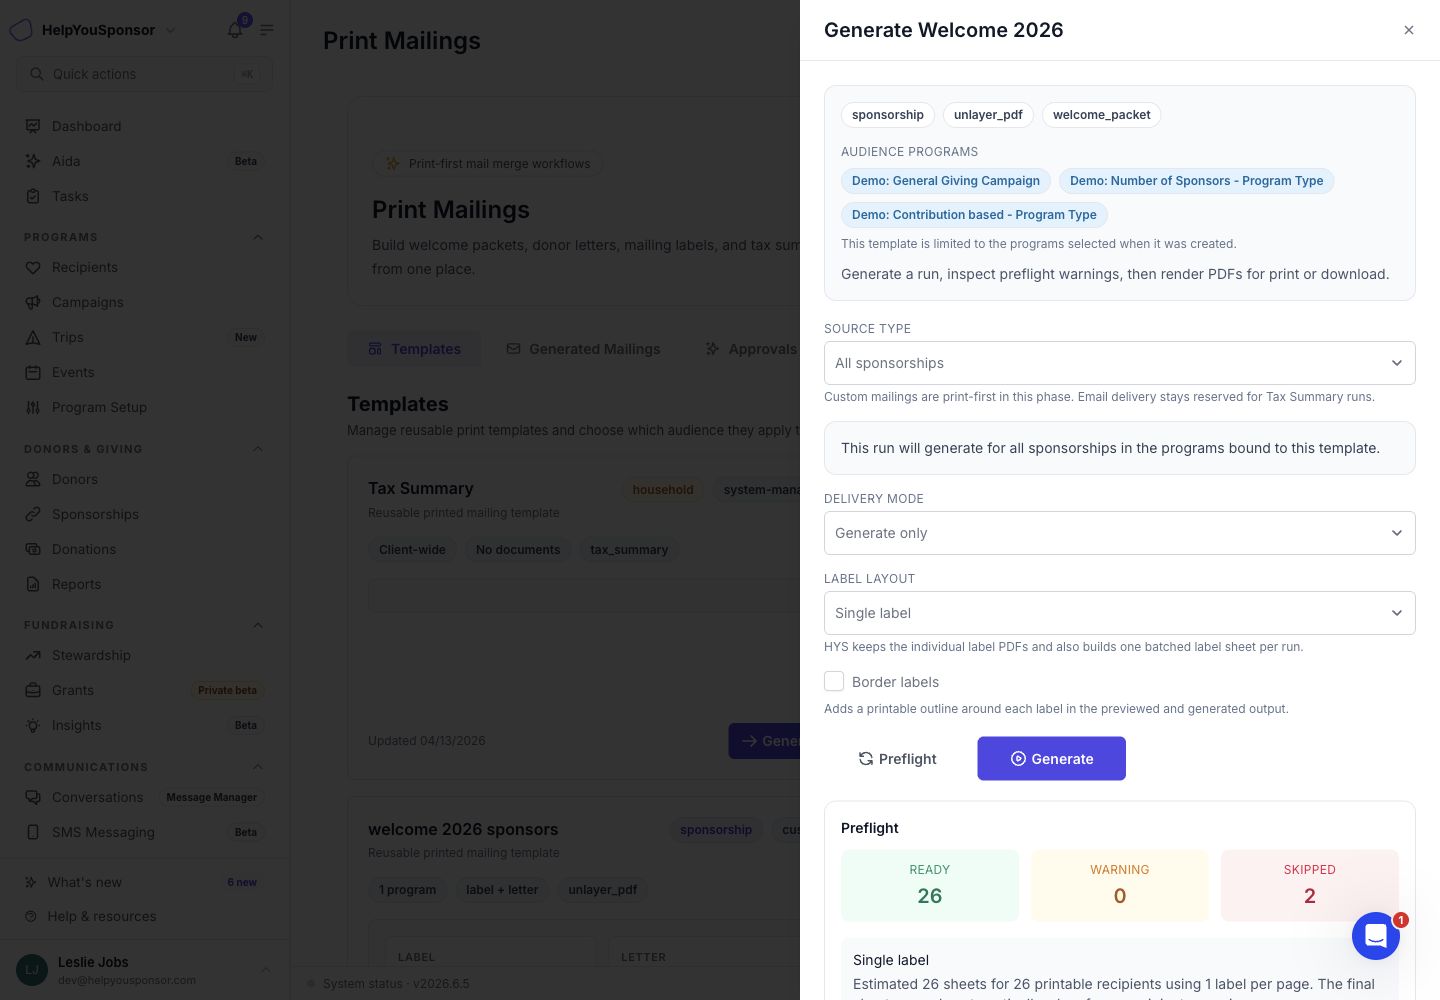
5. For templates with labels, choose the label layout and whether to add printable borders.
6. Choose **Preflight** to review the run before creating PDFs.
7. Review the ready, warning, and skipped counts.
8. Preview a representative letter, label, or label sheet when preview actions are available.
9. Choose **Generate**.

<figure><img src="/files/UazD3al18yaLdn98Bk82" alt=""><figcaption><p>Generate Mailings drawer with audience selection, label layout, preflight counts, and preview actions.</p></figcaption></figure>

### Source types

Available source types depend on the template scope:

* **Selected donor rows** generates for donors you search for and select.
* **Donor filter / all donors** can generate for all donors or a filtered donor selection.
* **Selected sponsorship rows** generates for selected sponsorship records.
* **All sponsorships** generates for all sponsorships in the account, or for the programs bound to the template.
* **Tax Summary** generates the system-managed tax summary for the selected donation year.

If a recipient is skipped, the preflight list shows the reason. A common reason is a missing or incomplete mailing address.

### Label layouts

When a template includes labels, choose the label layout that matches your printing workflow. Current layout options include:

* **Single label**
* **A4 sheet**
* **A3 sheet**
* **Letter Size (8.5" x 11") - 1 Label Per Sheet**
* **Letter Size (4" x 2") - 10 Labels Per Sheet**
* **Letter Size (2.625" x 1") - 30 Labels Per Sheet**
* **Letter Size (3" x 2") - 10 Labels Per Sheet**

A4 and A3 sheet layouts also let you choose how many labels should print per page. When label borders are enabled, each generated and previewed label includes an outline to help with alignment.

## Review generated mailings

Use **Generated Mailings** to find PDFs that have already been created.

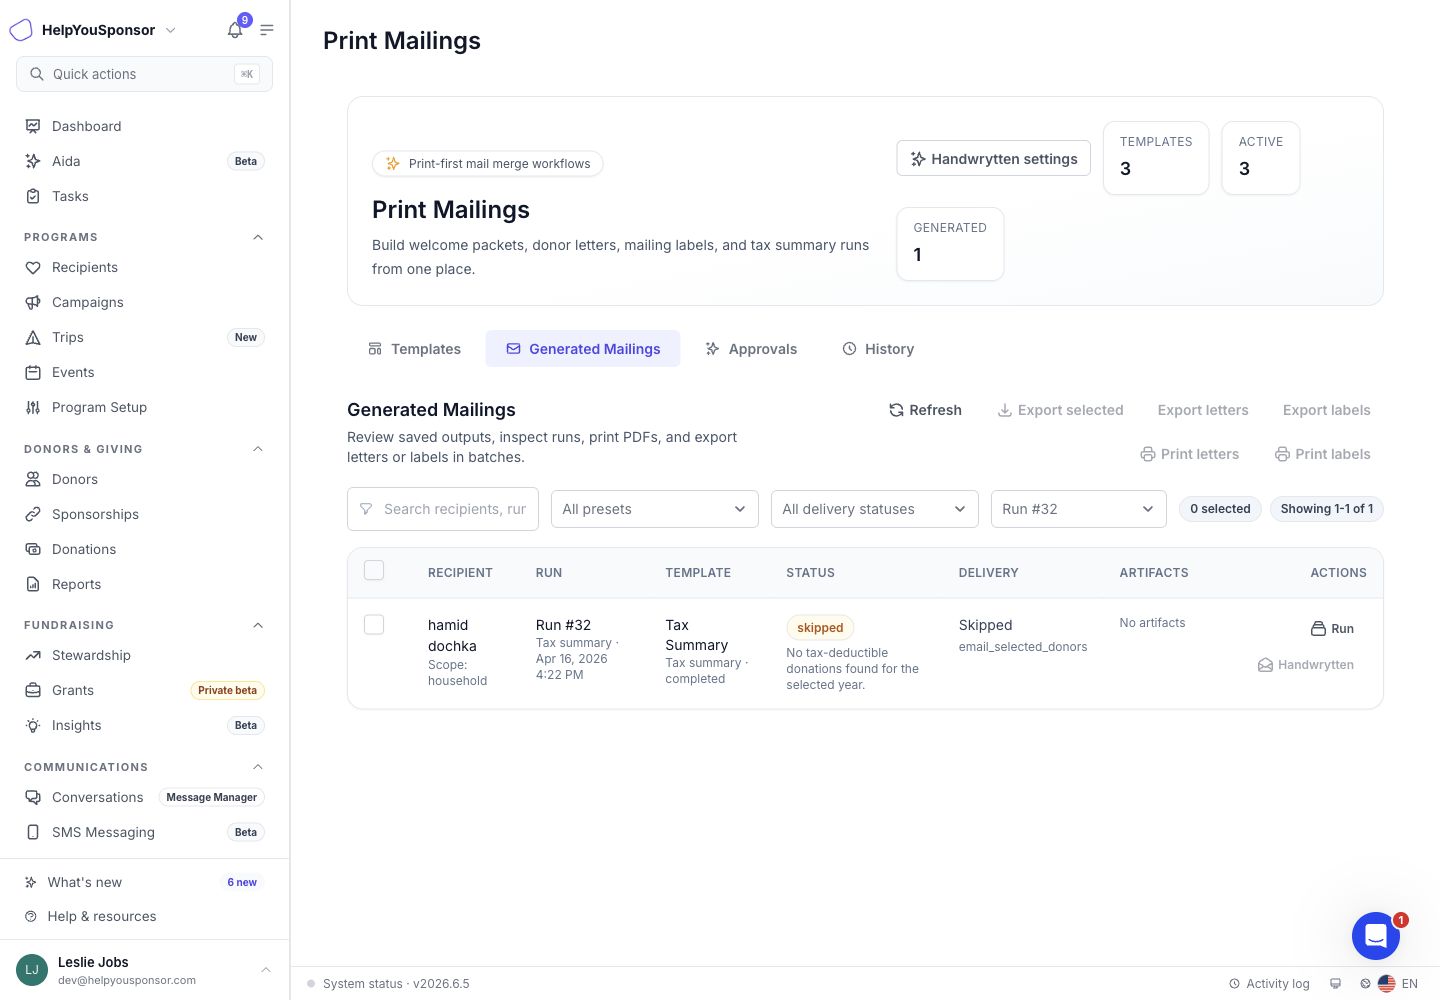
<figure><img src="/files/Ce1jyLKqV80CK5lJvbsN" alt=""><figcaption><p>Generated Mailings table with filters, selected-row actions, artifact actions, and delivery status.</p></figcaption></figure>

From this tab you can:

* Search by recipient, run, preset, or status.
* Filter by preset, delivery status, or run number.
* Open the run details for a generated item.
* Preview a letter, label, or label sheet.
* Print or download an available artifact.
* Select multiple rows and export all artifacts, only letters, or only labels.
* Select multiple rows and print letters or labels.
* Mark selected rows as **Sent** or **Not sent**.

Generated mailing statuses include:

* **queued**: The item is waiting to be processed.
* **ready**: The printable artifact was generated.
* **skipped**: The item was not generated because required information was missing.
* **failed**: The item could not be generated and needs review.

Delivery statuses help your team track what happened after the PDF was generated. For print-only mailings, use **Sent** after the item has been printed and mailed, or **Not sent** when it still needs follow-up.

{% hint style="info" %}
Bulk exports are queued. HelpYouSponsor notifies your team in the app when the export is ready to download.
{% endhint %}

## Review a run

Open a run when you want to understand the full batch instead of one recipient at a time.

1. Open **Generated Mailings**.
2. Choose **Run** on any item in the batch.
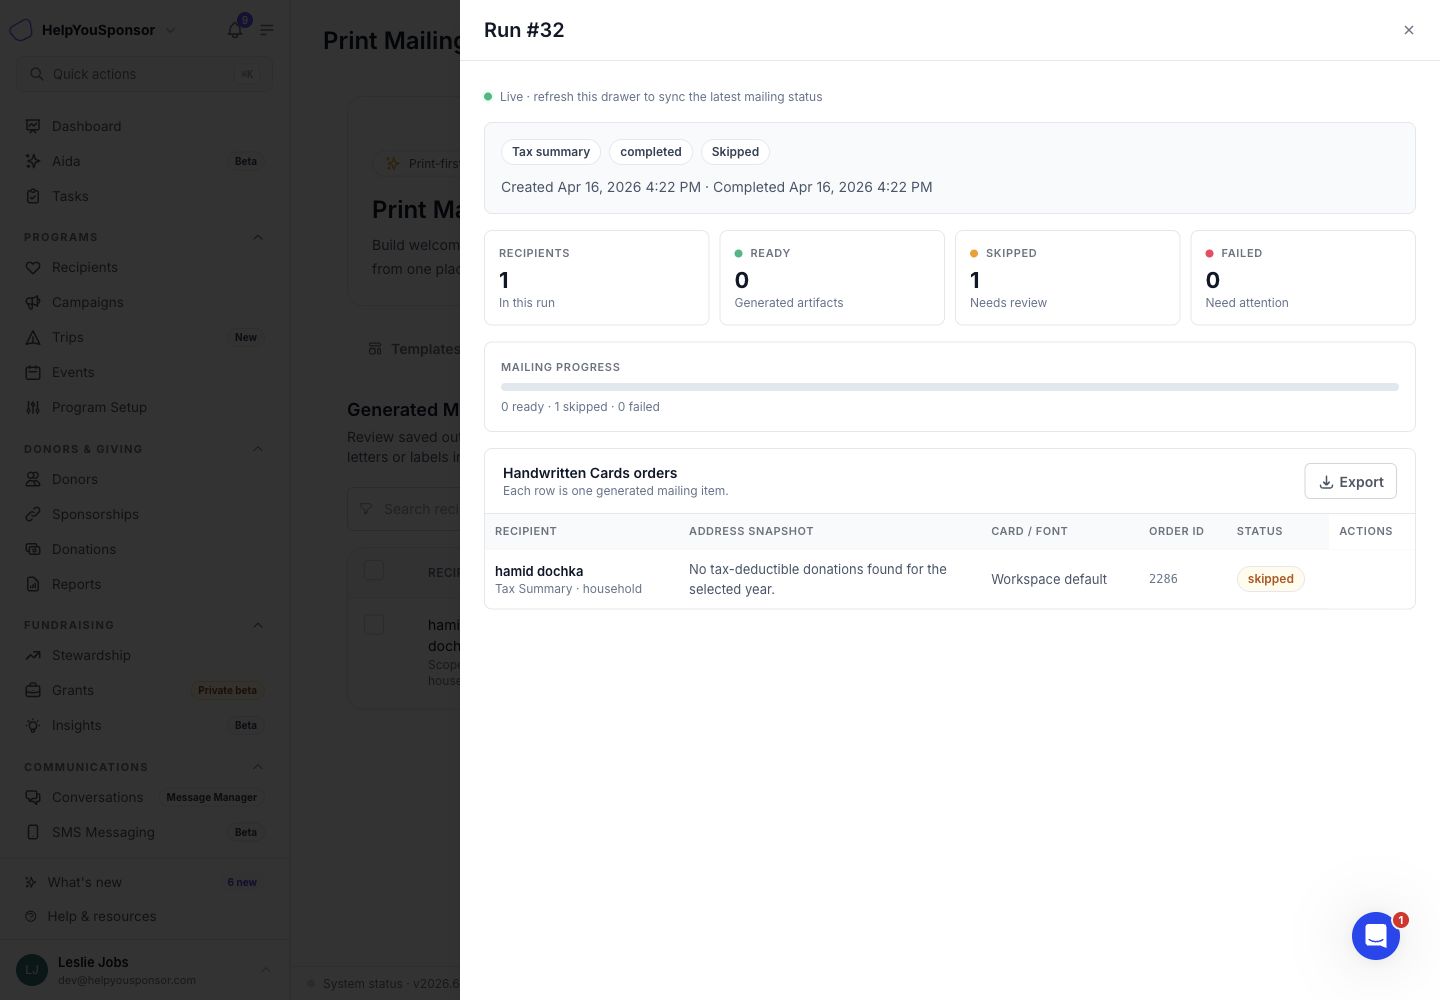
3. Review the total recipients, ready count, skipped count, failed count, and progress.
4. Open the label sheet or download the run ZIP when those artifacts are available.
5. Review the generated items in the run.

<figure><img src="/files/NaVWQyFGQ5o1NEtk3Bwc" alt=""><figcaption><p>Mailing run drawer with run counts, progress, label sheet, run ZIP, and generated items.</p></figcaption></figure>

## Use Handwrytten approvals

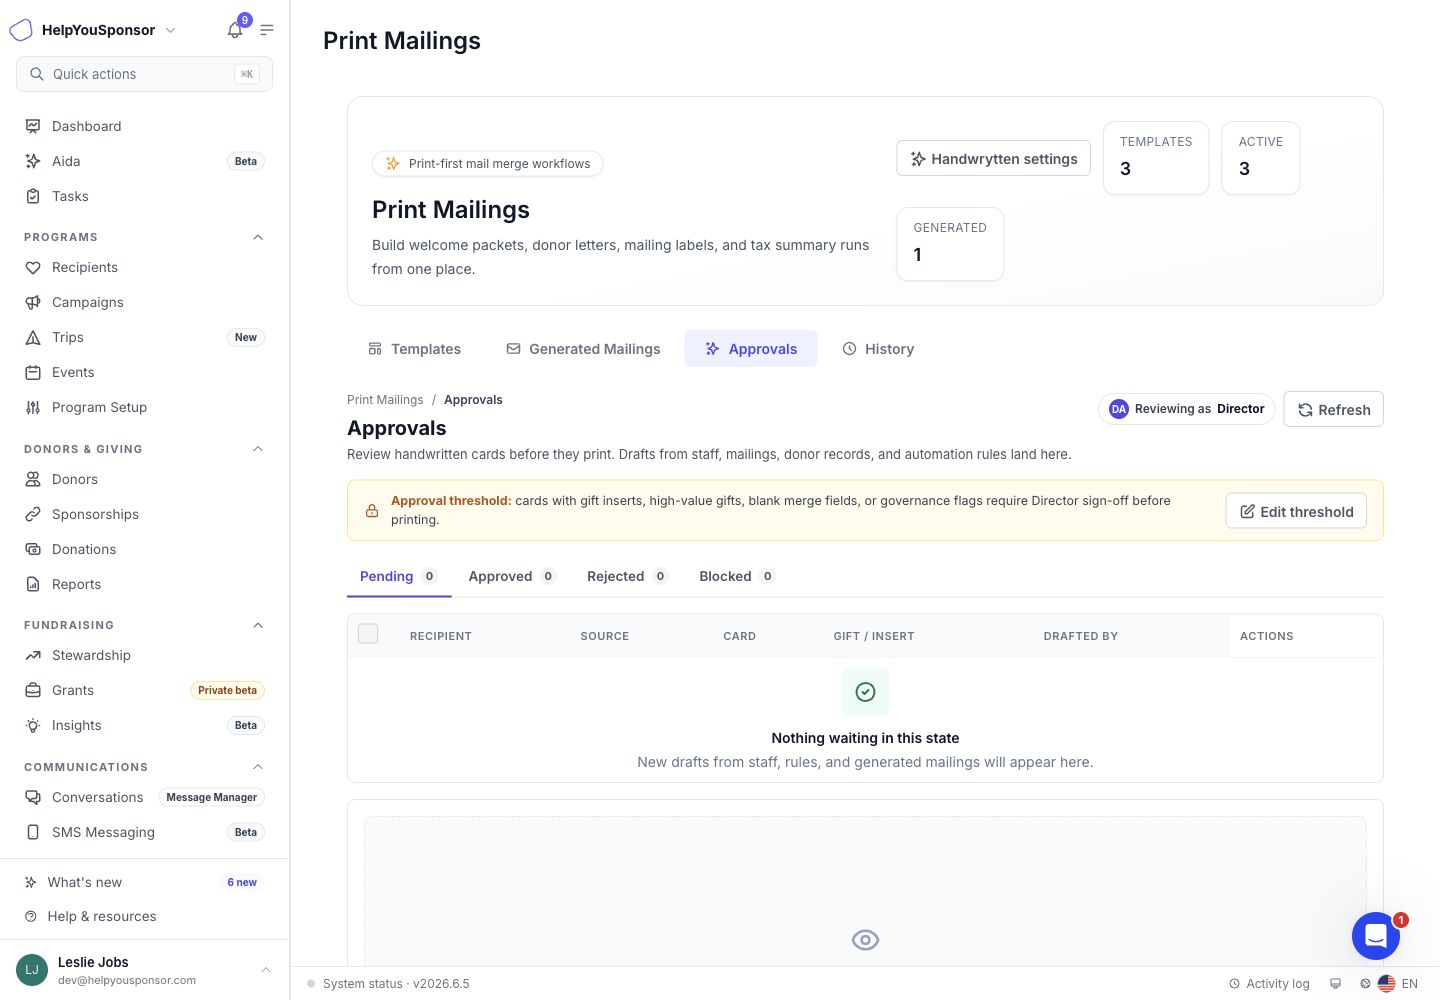
If Handwrytten is enabled for your organization, Print Mailings can include an **Approvals** tab and Handwrytten actions for ready generated mailings.

Use this workflow when a generated mailing should become a handwritten card instead of only a printed PDF.

1. Open a ready generated mailing.
2. Choose **Handwrytten**.
3. Review the generated mailing and fulfillment method.
4. Edit the card message if needed.
5. Add a requested send date when your team wants to request one.
6. Save a draft, or approve and submit if your permission set allows submission.

<figure><img src="/files/U00qMrU7BMsOcgAAk9hg" alt=""><figcaption><p>Handwrytten Approvals tab for reviewing cards created from staff work, generated mailings, donor records, and automation rules.</p></figcaption></figure>

Handwrytten cards use workspace defaults for card and handwriting settings. Approved cards are charged against HYS-managed Handwrytten credits when submitted.

## Access and permissions

Print Mailings must be enabled for your organization. Admins also need the right permission level:

* **View Print Mailings** lets an admin open the page and review templates, generated mailings, and history.
* **Generate Print Mailings** lets an admin generate mailing runs.
* **Manage Print Mailings** lets an admin create, edit, duplicate, and archive custom templates. It also controls stronger Handwrytten approval actions when Handwrytten is enabled.

If an admin cannot see Print Mailings under **Communications**, confirm that the feature is enabled for the organization and that the admin's permission set includes Print Mailings access. For more about permission sets, see [Permissions and Access Control](/guides/administration/permissions-and-access-control.md).