> For the complete documentation index, see [llms.txt](https://docs.helpyousponsor.com/guides/llms.txt). Markdown versions of documentation pages are available by appending `.md` to page URLs; this page is available as [Markdown](https://docs.helpyousponsor.com/guides/core-features/donation-management/donations-table.md).

# Donations Table

Use the donations table when you need to review giving activity, investigate a payment issue, export donation records, or build a reusable view for follow-up and reporting.

The worksheet view brings donation records, refunds, failed payments, and soft credits into one workspace. Each view keeps its own rows, filters, columns, date range, and export workflow.

## Review donation activity

Start by choosing the donation records you want to work with:

1. Open **Donations**.
2. Choose the view that matches your task:
   * **Donations:** successful or active donation records.
   * **Refunds:** refunded donation rows.
   * **Failed:** failed payment attempts.
   * **Soft Credits:** soft-credit acknowledgements connected to donations.
3. Choose the donor form or saved view you want to use.
4. Choose the date range.
5. Review the rows in the worksheet.

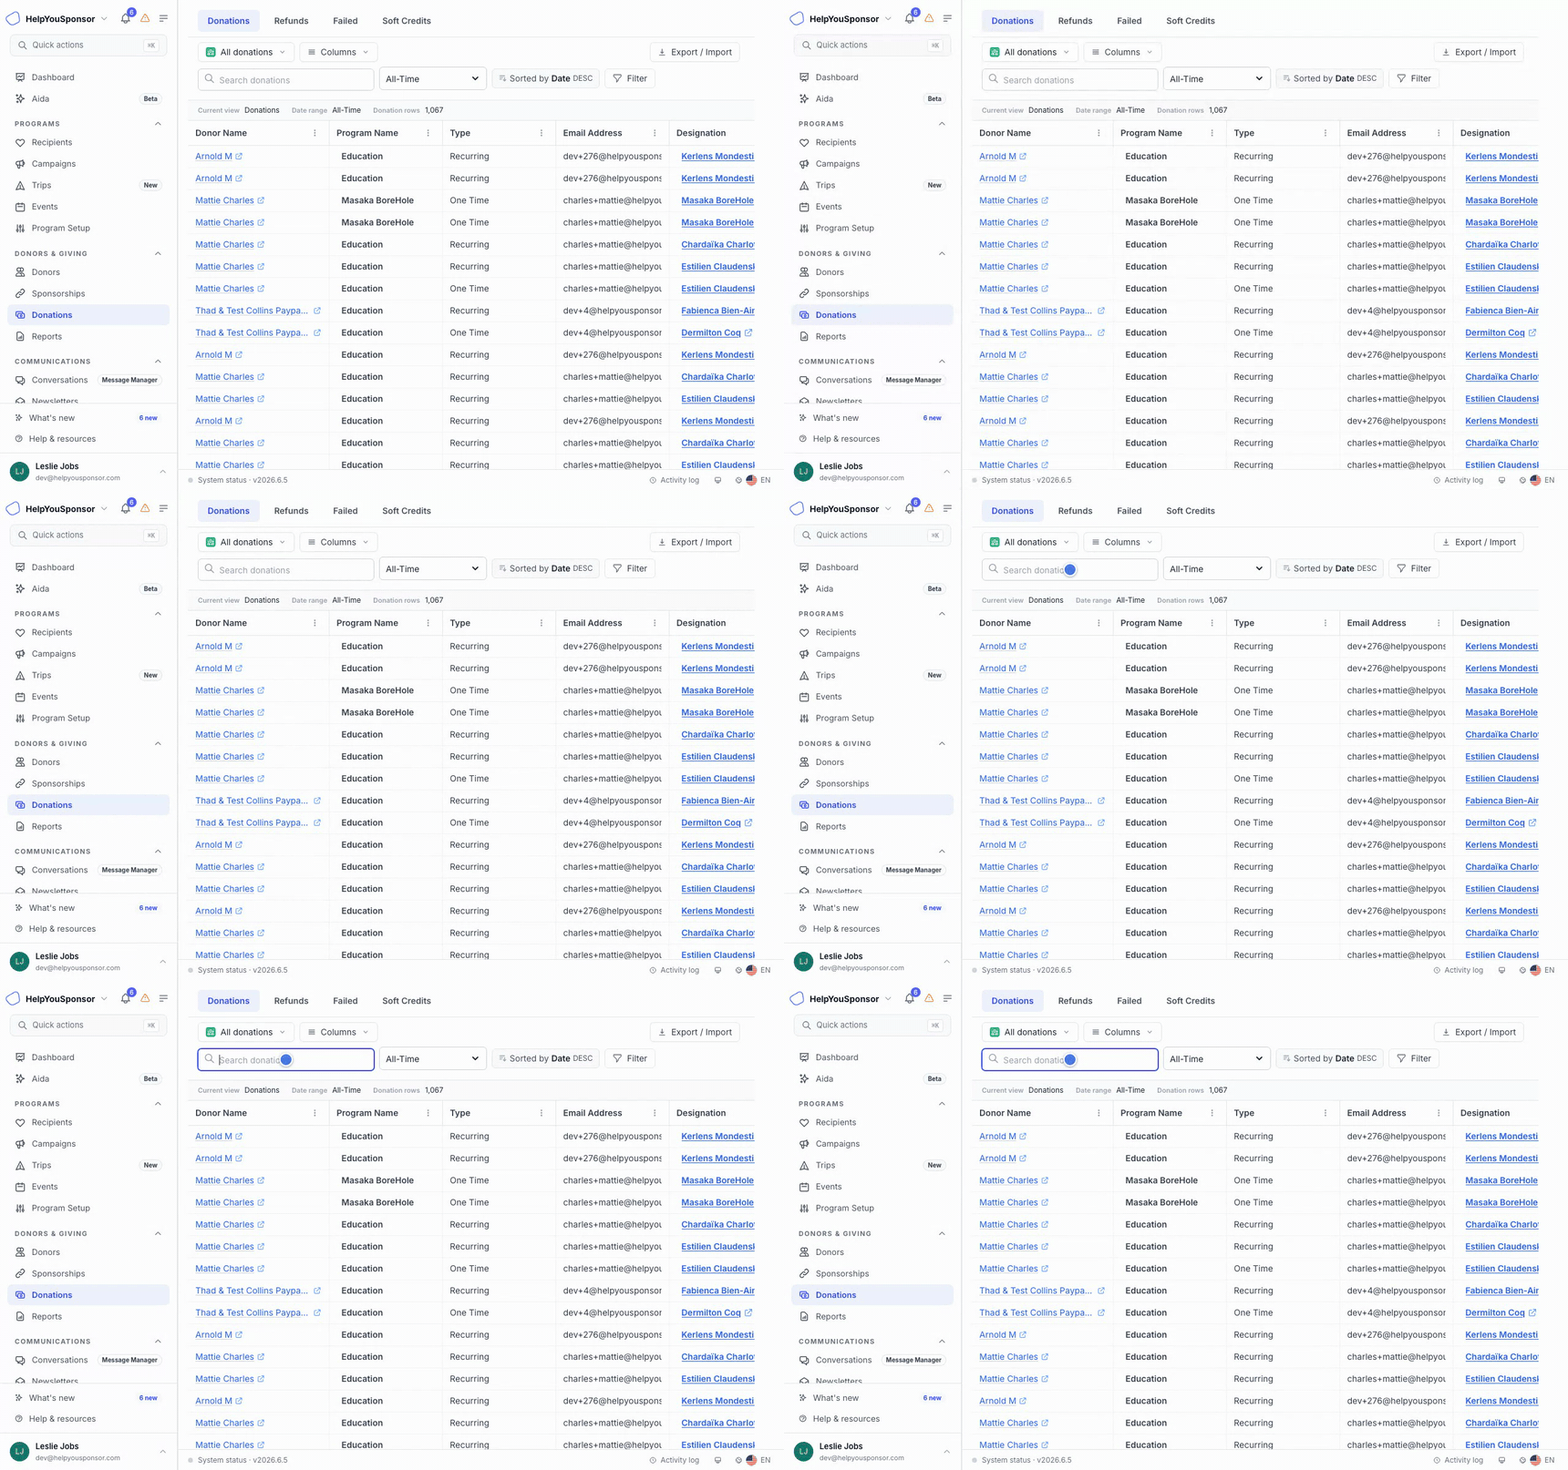
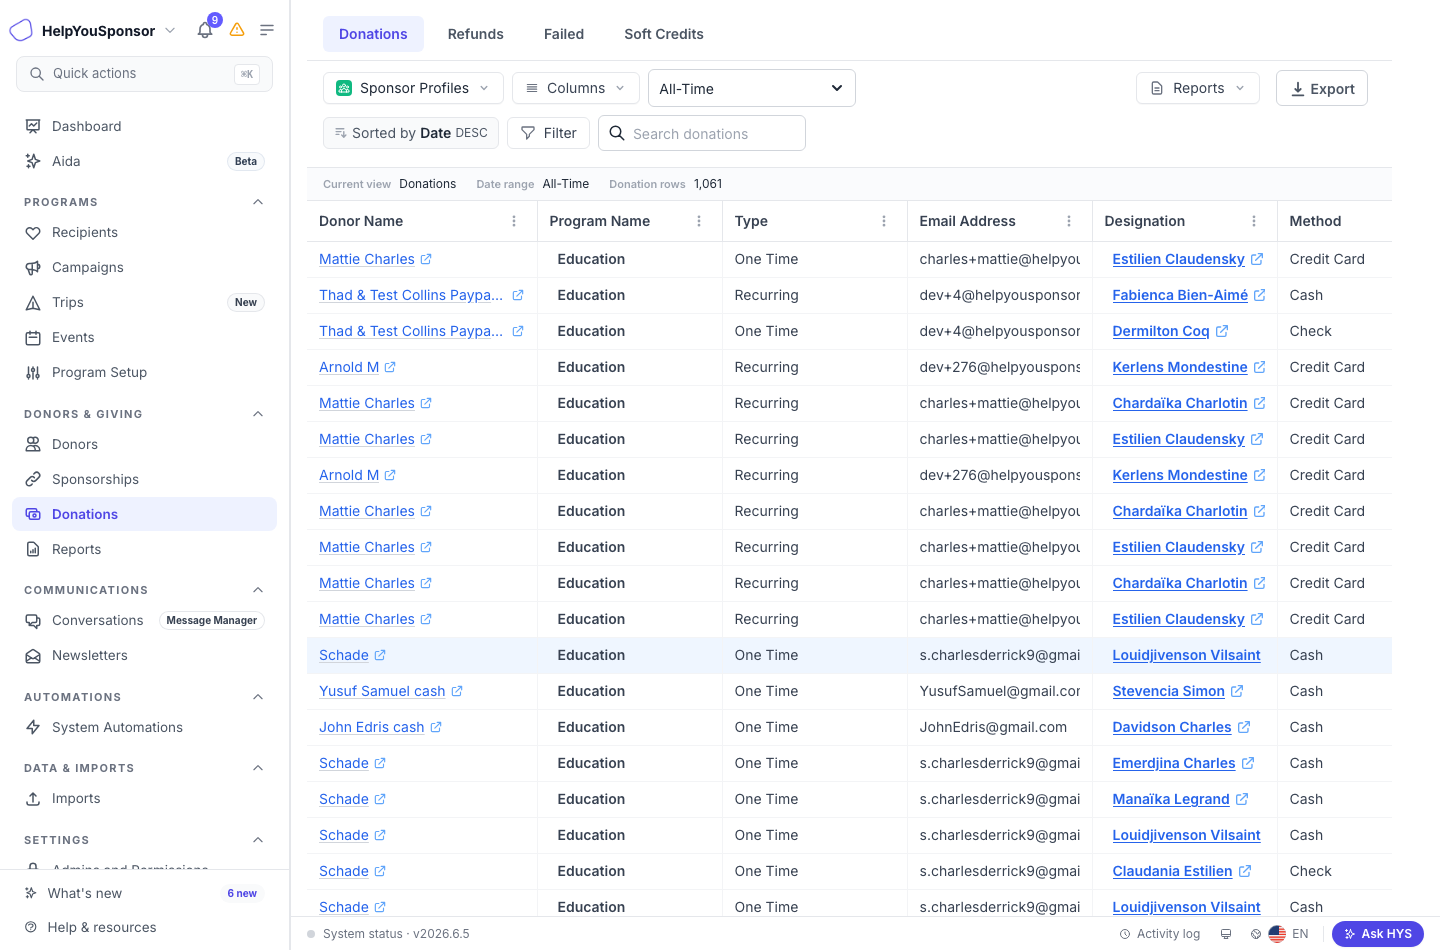
<figure><img src="/files/88bX4pHhKV91i90co2W1" alt=""><figcaption><p>The Donations worksheet shows donation views, donor form or saved view selection, date range, search, filters, export, and the donation rows.</p></figcaption></figure>

The summary bar above the table confirms the current view, date range, and row count. Use it to make sure you are reviewing the right set of records before filtering, exporting, or reporting.

> **Note:** If you do not see **Donations**, ask an administrator to confirm that your user has donation access.

## Choose the columns you need

Use columns when you want the table to show the information needed for a specific task, such as payment review, donor follow-up, year-end reconciliation, or soft-credit cleanup.

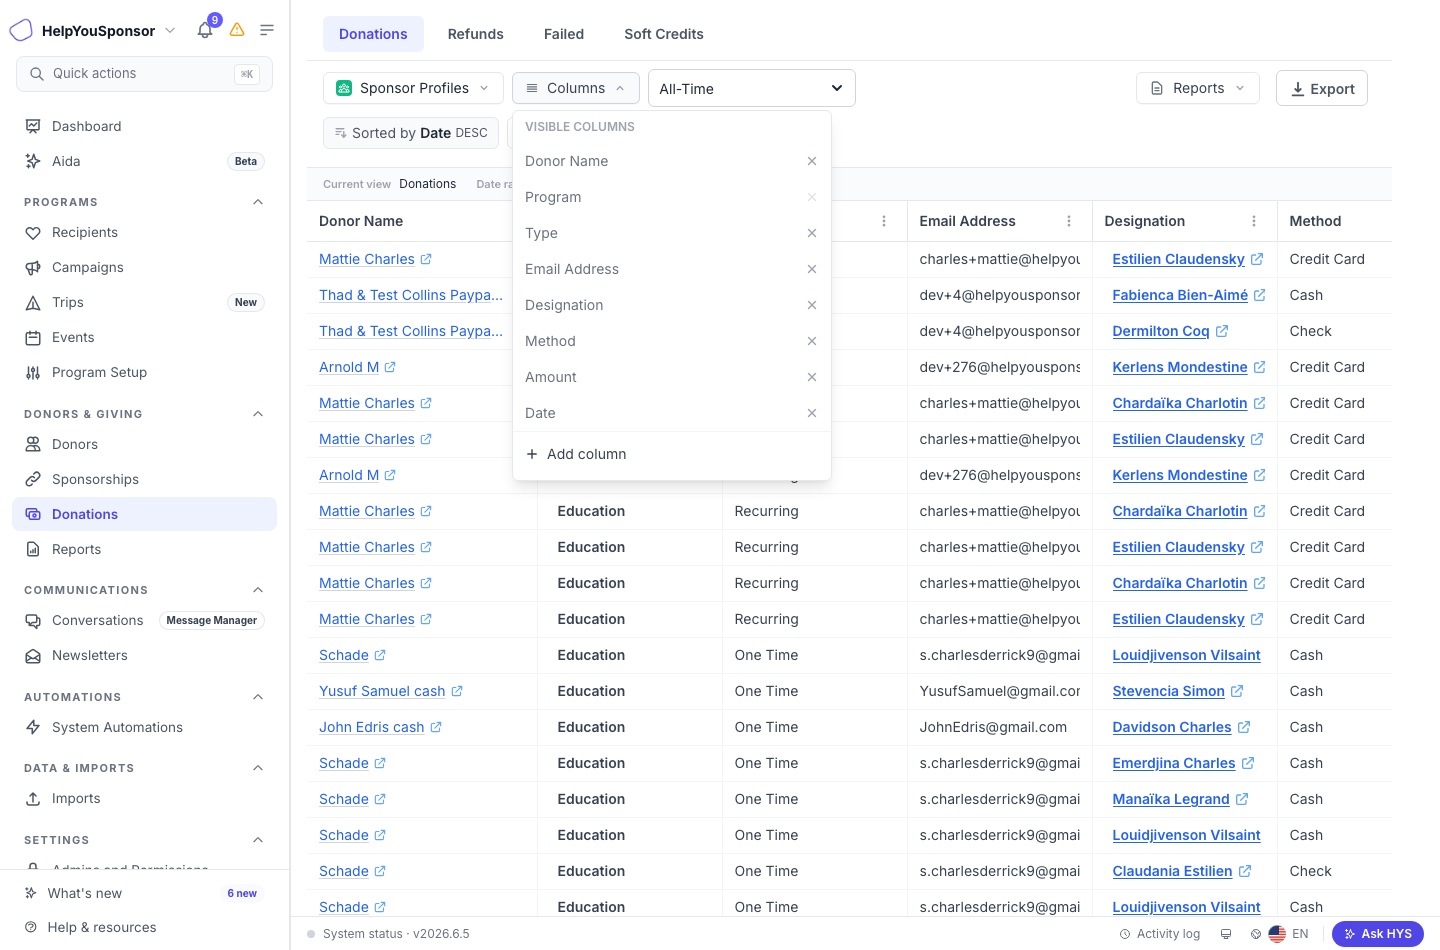
1. Select **Columns**.
2. Review the visible columns.
3. Remove columns that are not useful for the current task.
4. Select **Add column** to include more donation, donor, designation, or soft-credit fields.
5. Use column menus in the table header to sort, move, or hide a column.

<figure><img src="/files/cKvnZiHX6iGVQjIL1c2V" alt=""><figcaption><p>The Columns menu controls which fields are visible in the donation worksheet.</p></figcaption></figure>

Some identity columns stay visible because they keep the worksheet readable. For example, donor and program context help make each donation row clear when you add more fields.

## Find the right donations

Use the search box when you already know what you are looking for, such as a donor name, email address, designation, or other donation detail.

Use **Filter** when you need a more specific set of records.

1. Select **Filter**.
2. Choose the field you want to filter by.
3. Choose the comparison and value.
4. Select **Apply filter**.

<figure><img src="/files/oWQFlCNh2JNROHWwTAvl" alt=""><figcaption><p>The worksheet filter lets you narrow the active donation view by field and value.</p></figcaption></figure>

Search, filters, date range, and columns work together. The columns control what you see. Search and filters control which rows remain in the current view.

## Work from a donation row

Use the row links to move from a donation record to the related people and designations:

* Select the donor name to open the donor profile.
* Select the designation to open the related recipient or designation record.
* Select the amount to edit or open the donation record, depending on the row.

When you are reviewing **Refunds**, the table focuses on refunded donation rows. When you are reviewing **Failed**, the table focuses on failed payment rows. Switch views before making follow-up lists so the row count and export match the issue you are working on.

## Export donation records

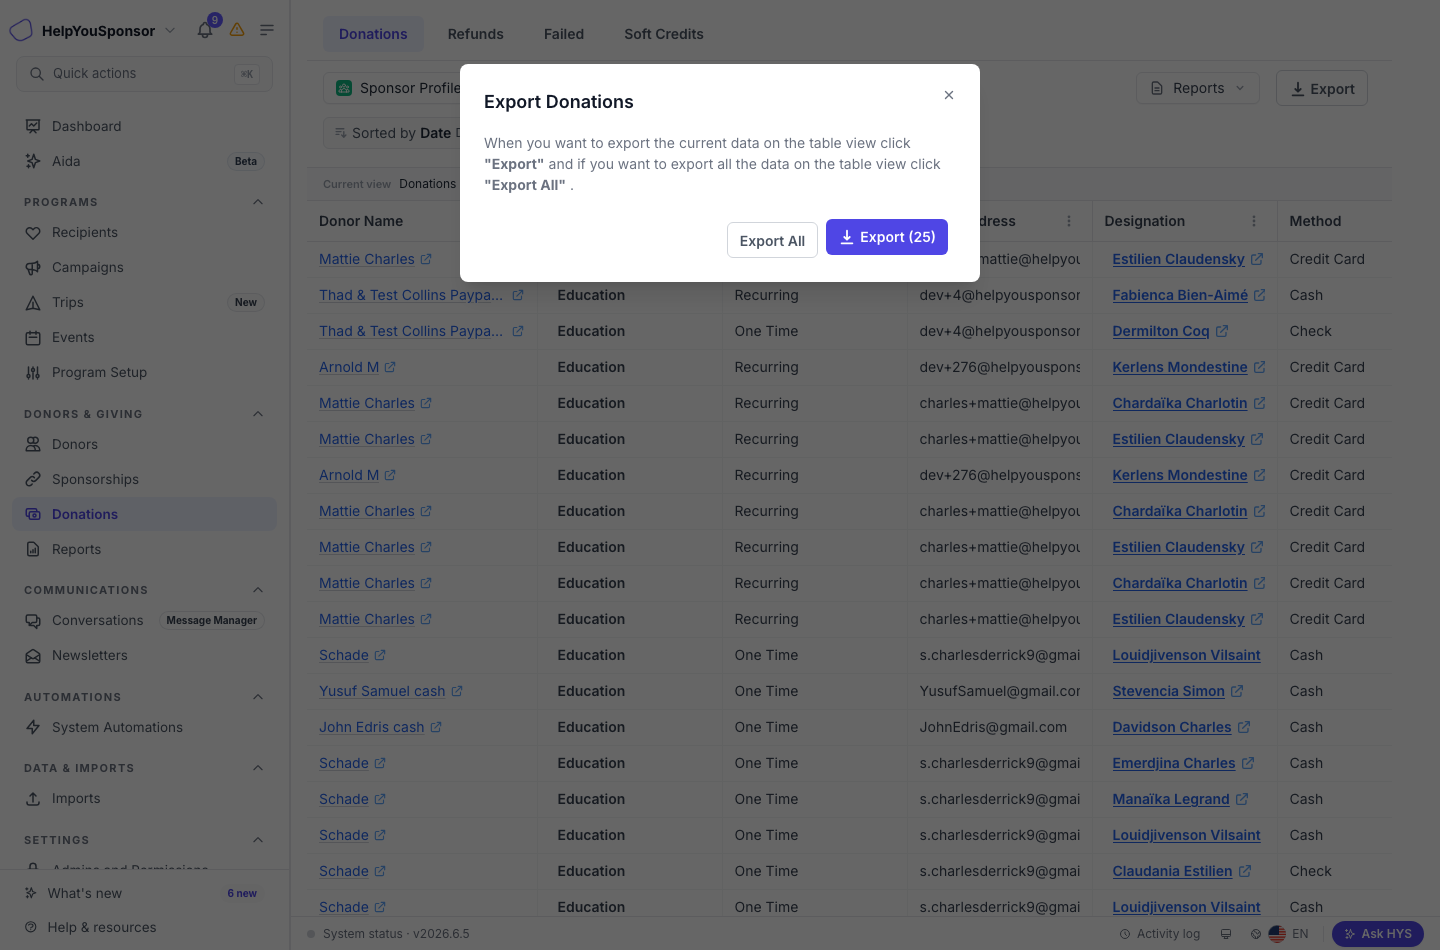
Use **Export / Import** when you need a CSV for reconciliation, finance review, donor follow-up, or offline analysis.

1. Confirm the active view, date range, columns, search, and filters.
2. Select **Export / Import** and choose your option:
   * **Current page CSV** — downloads the rows currently shown on the page.
   * **All as CSV** — starts a background export of all donations matching the current view.
   * **All sent to email** — starts a background export and emails a download link when ready.

<figure><img src="/files/1sjnm7Tqg01tbCyMXvml" alt=""><figcaption><p>The Export / Import dropdown lets you export the current page, all matching donations, or send the export by email.</p></figcaption></figure>

Large exports are prepared in the background. A progress section appears at the top of the page while processing and provides the download when ready.

## Review soft credits

Use **Soft Credits** when you need to review people who should receive recognition for influencing or being associated with a donation, even though they were not the original donor.

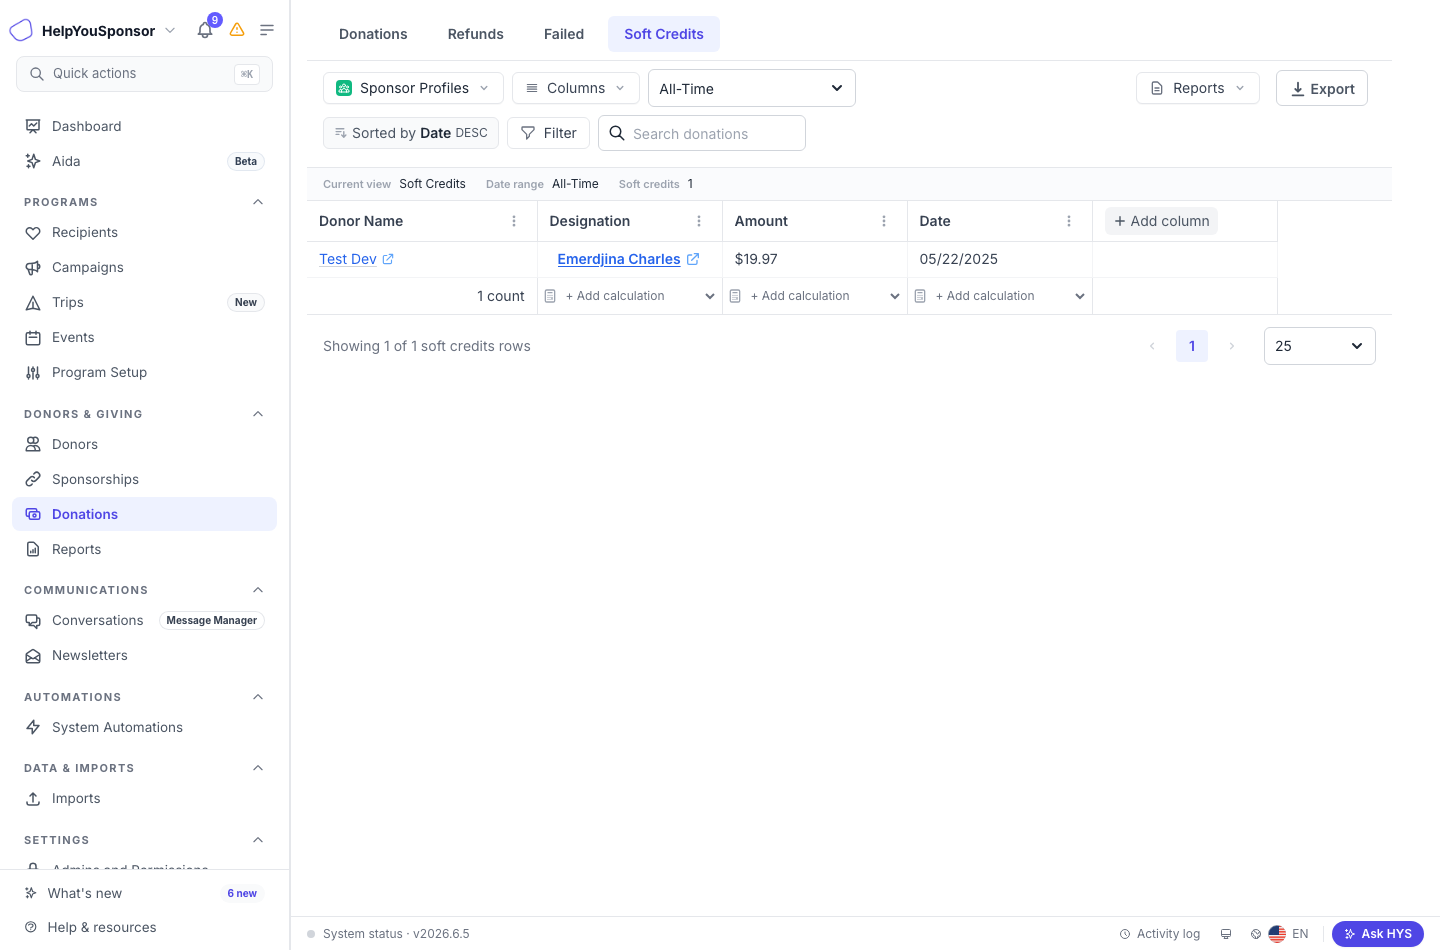
The soft-credit view shows the credited donor, designation, amount, date, and any additional columns you add for review.

<figure><img src="/files/SQeJDoOGQo9r0tBqVhLG" alt=""><figcaption><p>The Soft Credits view lists soft-credit rows separately from direct donation rows.</p></figcaption></figure>

For details on adding and managing soft credits, see [Soft Credit](/guides/core-features/donation-management/soft-credit.md).

## Save and report on a view

Use saved views and reports when you repeat the same review often, such as weekly failed-payment follow-up, monthly reconciliation, or a year-to-date giving review.

Before saving or reporting, set up the worksheet the way you want it:

1. Choose the donation view.
2. Choose the donor form or saved view context.
3. Set the date range.
4. Add the columns you need.
5. Apply any filters.
6. Use **Reports** to create or manage report actions for that view.

Saved and reported views should describe the work you are trying to repeat, not just the columns shown. For example, use names like **Failed payments this month** or **Major gifts year to date**.