# Participant Management
Participant management is where you enrol and manage the individuals taking part in your trip. Each participant is linked to a donor record in your HelpYouSponsor account and receives their own fundraising profile, allowing supporters to donate directly to them.
### Accessing Participant Management
Open the [Trip Details](https://docs.helpyousponsor.com/guides/core-features/program-management/trips/trip-details) page for your trip and click the **Participants** tab.
### Participants Table
The Participants tab displays a table of all enrolled participants with the following columns:
* **Name and Email** - The participant's name and email address.
* **Role** - Either "Participant" or "Leader."
* **Individual Goal** - The personal fundraising goal assigned to the participant.
* **Total Raised** - The amount raised so far by the participant.
* **Progress** - A visual progress bar showing the percentage of the individual goal that has been reached.
* **Status** - The participant's current status (Active, Withdrawn, or Completed).
* **Actions** - Edit, send invitation and delete buttons for each participant.
### Adding a Participant
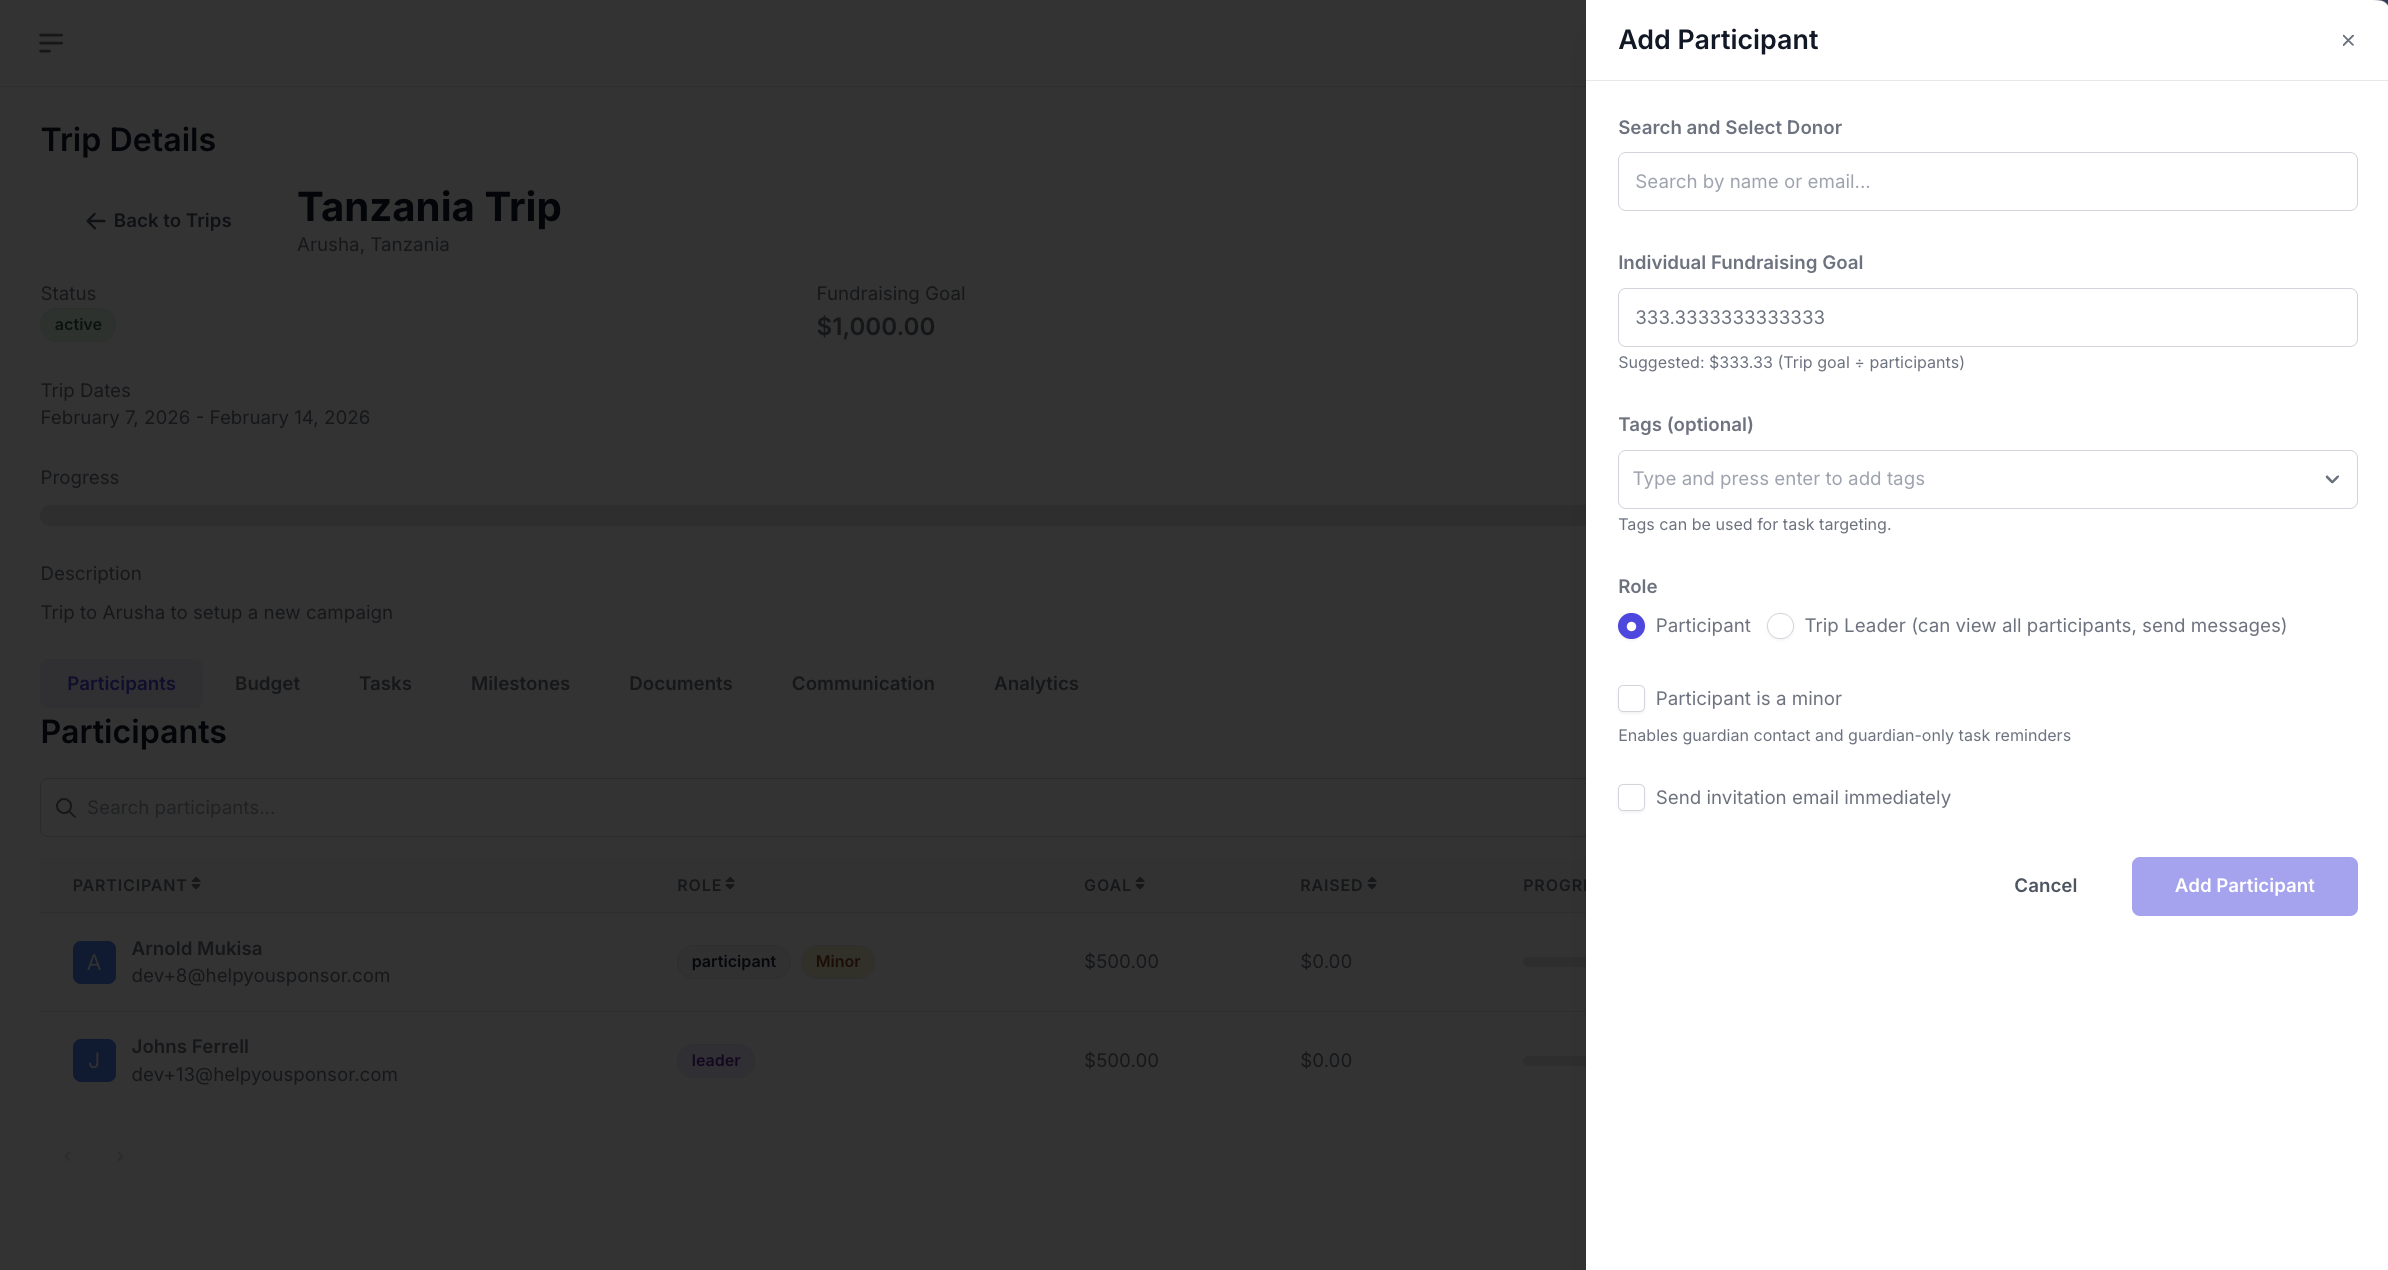
Click the **Add Participant** button to open the participant form in a side panel. The form includes the following sections:
#### Search and Select Donor
When adding a new participant, search for an existing donor in your HelpYouSponsor database by typing their name or email address. Matching results will appear in a dropdown list. Click a donor's name to select them.
If the donor does not yet exist in your system, you will need to add them as a donor first, then return to add them as a participant.
#### Individual Fundraising Goal
Set the fundraising target for this specific participant. A suggested goal is displayed based on the trip's overall goal divided by the number of current participants.
### Participant Tags
Tags help you organize participants and enable advanced task targeting. Tags are free-form labels that you define per trip.
{% stepper %}
{% step %}
#### Adding tags to a participant
1. Click **Edit** on a participant in the Participants table.
2. In the **Tags** field, type a tag name and press Enter to add it.
3. Add as many tags as needed (e.g., `needs-passport`, `first-timer`, `team-a`, `late-joiner`).
4. Click **Save**.
{% endstep %}
{% endstepper %}
Tags are used for:
* **Task targeting**: Assign tasks to participants with (or without) specific tags. See [Task Management](https://docs.helpyousponsor.com/guides/core-features/program-management/trips/task-management) for details on tag-based targeting.
* **Organization**: Quickly identify and group participants by shared characteristics.
#### Role
Choose the participant's role:
* **Participant** - A standard trip member who can view their own tasks, progress, and documents.
* **Trip Leader** - A participant with elevated permissions. Leaders can view all participants, send messages, manage tasks, and perform other administrative actions depending on the permissions granted by the trip administrator.
### Minor Participants & Guardian Information
When a participant is a minor (under 18), you can record their guardian's contact information for compliance and communication purposes.
When a participant is a minor (under 18), you can record their guardian's contact information for compliance and communication purposes.
{% stepper %}
{% step %}
#### Marking a participant as a minor
1. Click **Edit** on the participant.
2. Toggle **Is Minor** to on.
3. Fill in the guardian contact fields:
* **Guardian Name** (required when marked as minor)
* **Guardian Email** — used for guardian-targeted task reminders
* **Guardian Phone**
* **Guardian Relationship** (e.g., Mother, Father, Legal Guardian)
4. Optionally, link the guardian to an existing donor record in your database by searching for them.
5. Click **Save**.
{% endstep %}
{% endstepper %}
{% hint style="info" %}
Important: Guardian contact information is never exposed on public trip pages or participant profiles. It is only visible to administrators and authorized leaders.
{% endhint %}
Relationship options include Mother, Father, Legal Guardian, Grandparent, Aunt, Uncle, and Other.
When a participant is marked as a minor, task reminders can be configured to go to the guardian's email instead of (or in addition to) the participant. This ensures that responsible adults are kept informed about outstanding tasks.
### Send Invitation Email
When adding a new participant, you can check **Send invitation email immediately** to notify them that they have been added to the trip. The invitation email includes instructions for accessing their participant dashboard.
### Invitation Settings
When sending participant invitations, you can configure the **invitation link expiration** — how long the magic link in the invitation email remains valid.
Options range from **1 hour** to **30 days**, with a default of **72 hours** (3 days).
{% stepper %}
{% step %}
#### To send invitations
1. Select one or more participants.
2. Click **Send Invitation**.
3. Optionally adjust the link expiration time.
4. Click **Send**.
{% endstep %}
{% endstepper %}
### Editing a Participant
Click the **Edit** button on any participant row to open the editing form. You can update the individual goal, role, tags, minor/guardian information, and visibility settings.
### Removing a Participant
Click the **Delete** button on any participant row to remove them from the trip. A confirmation dialog will appear before the participant is removed.
### Participant Visibility Settings
Each participant has visibility options that control how they appear on the public trip page:
* **Public** - The participant is visible on the public trip page with their name, bio, and fundraising progress.
* **Anonymous** - The participant's fundraising is tracked but their identity is hidden on the public page.
### Background Check & E-Signature Status
The Participants table displays additional status indicators when these integrations are configured:
* **Background Check Status**: Shows the current Checkr check status (Pending, Clear, Consider, etc.). Click the action button to initiate a new check. See [Background Checks](https://docs.helpyousponsor.com/guides/core-features/program-management/trips/background-checks).
* **E-Signature Status**: Shows whether signature requests have been sent, viewed, or signed. Click the action button to send a new request. See [E-Signatures](https://docs.helpyousponsor.com/guides/core-features/program-management/trips/e-signatures).
### Leader Permissions
Trip leaders can be granted specific permissions that determine what actions they can perform from their participant dashboard. The following permissions are available:
* **Manage trip** - Edit trip details.
* **Manage participants** - View, add, and remove participants.
* **Invite participants** - Send invitation emails to new participants.
* **Manage budget** - View and edit budget items.
* **Manage tasks** - Create, edit, and delete tasks.
* **Manage task templates** - Create and apply task templates.
* **View task completions** - See which participants have completed tasks.
* **Approve task completions** - Approve or reject task submissions that require approval.
* **Send manual reminders** - Send reminder emails to participants about outstanding tasks.
* **Promote leaders** - Grant leader status to other participants.